Whether you are doing a simple repair job or a renovation project where you need to work at height, the need for scaffolding is inevitable. Before you begin the task of setting up scaffolding on your stairwell, you should ensure that you are well-trained for the job. If not, consider hiring a qualified professional for a reliable and safe working platform. Here’s how to scaffold a stairwell.
1. Assess The Stairwell

The stairway layout is crucial in determining the best scaffolding for stairs. The right scaffold type will help you to set up your scaffolding and the appropriate height. Before beginning, assess the stairwell to determine the right size and type of scaffolding you will require. Take measurements to know the most suitable length and width of the stairwell scaffold tower. Assessment is necessary also to watch out for any potential hazard that may hinder the process and ensure that the scaffold is erected on a stable and level ground.
2. Gather the necessary components

After the assessment, you can now gather the components you’ll need. This includes tools, planks, base plates, braces, guardrails and other safety equipment like helmets, boots and gloves. With these items, you can easily set up a scaffold following the manufacturer’s guidelines. You can opt for a conventional scaffold or the mini scaffold if the distance isn’t so high and the task you want to achieve will not last long.
3. Set up the scaffold base
If you choose to use the conventional scaffold or mini scaffold, set up the bases and ensure they sit on a level surface to avoid the scaffold from wobbling or shaking when it’s in use. The base plates will help distribute the weight evenly and prevent the scaffold from tilting to one side.
4. Erect the scaffolding frames
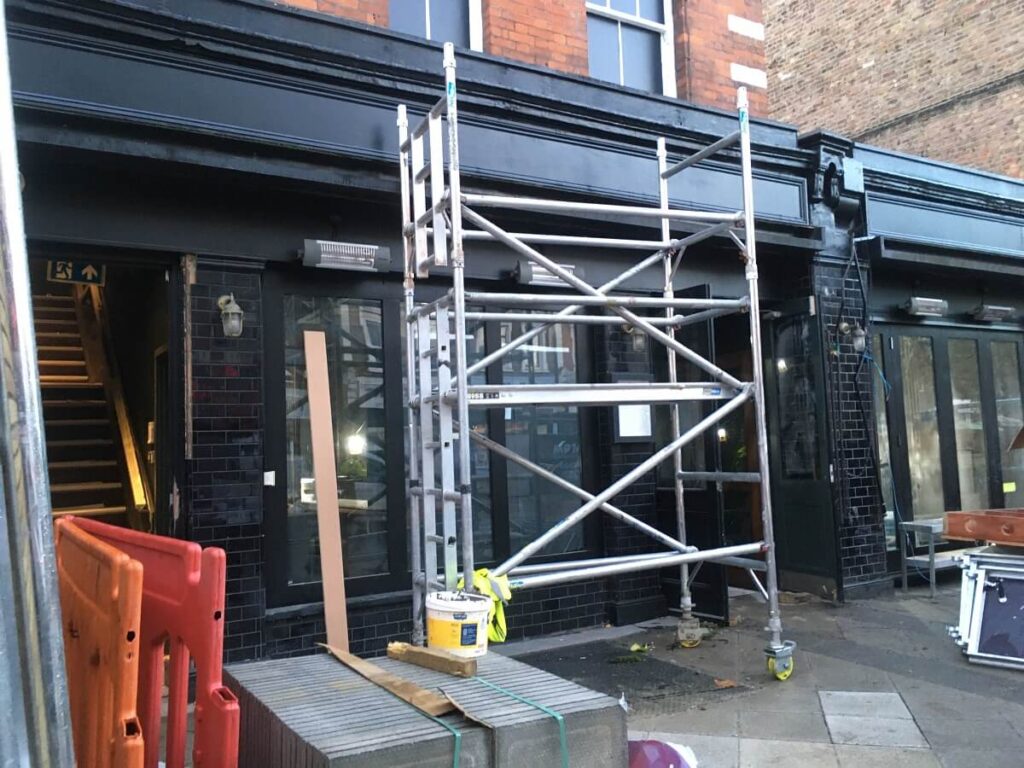
Place the scaffolding frames in each base according to the manufacturer’s guide. You should ensure that the horizontal ledgers and vertical standards are securely fixed. They should be level and evenly spaced to provide the necessary support for the working platform.
5. Install cross braces
Once the scaffolding frames are on and standing steady on a safe and sturdy surface, you need to lock and secure them with scaffolding braces to provide additional stability.
6. Add the planks

Once the frame is steady and secured by braces, you can place planks. Ensure the planks are level and secure. You should also measure the boards accurately depending on the size of the scaffold.
7. Put the safety equipment
Install safety equipment once the scaffolding is secured and standing in a steady and stable place. Safety equipment like guard rails, toeboards, safety netting and harnesses to ensure workers’ safety while on the scaffold. Although you probably won’t need them for smaller projects.
8. Inspect the scaffolding
Inspect the scaffold one more time before any work begins for safety purposes. This is an ideal way to ensure that it has been built in accordance with health and safety regulations.
Safety should always come first if you’re using scaffolding when working at heights. The type of project you’re working on will also determine the most suitable scaffolding design. If you are unsure about your ability to scaffold a stairwell, hire a professional to safely erect it for you.